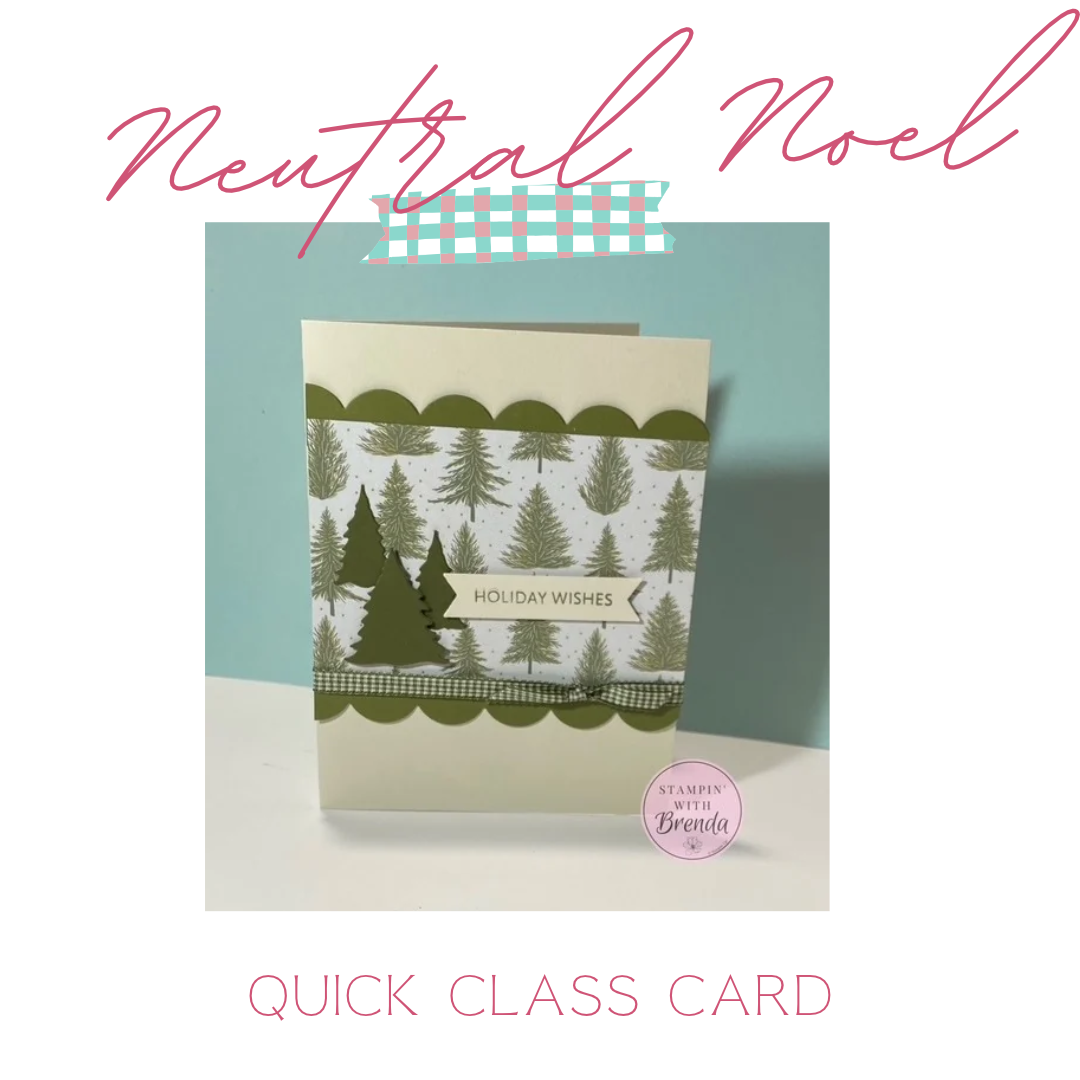
Looking for a beautiful Christmas card that’s simple to make but has plenty of interesting details? This week on my Quick Class Live, I’m sharing a handmade Christmas card featuring gorgeous gold-accented Designer Series Paper, scalloped borders, and layered Christmas trees.
This is one of the cards we’re making at my November Cards & Company Zoom Card Class, and I thought it would be fun to share the design with everyone.
One of my favorite things about this Christmas card is that it doesn’t require much stamping. The Designer Series Paper does most of the work, and a few carefully chosen details give the card a polished, finished look.
I’m also sharing a clever way to use your dies to create scalloped borders without wasting cardstock!
A Beautiful Christmas Card with Gold Accents
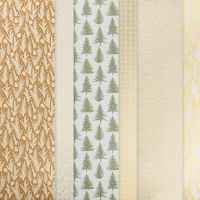
The star of this project is a sheet of Neutral Noel Specialty Designer Series Paper featuring Christmas trees with beautiful gold accents and tiny gold speckles in the background.
I love how the gold adds a little sparkle without being overwhelming.
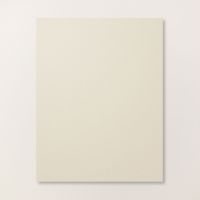
For the card base, I chose Basic Beige cardstock. It’s a wonderful neutral that’s a little deeper than Very Vanilla, and it works beautifully with the greens and golds in the patterned paper.
I paired it with Mossy Meadow Two-Tone Cardstock to bring out the darker greens in the tree design.
If you haven’t worked with Two-Tone Cardstock before, it has a lighter shade on one side and a darker shade on the other. That gives you more flexibility when coordinating your colors.
For this card, I used the darker side.
Create Scalloped Borders with the Scalloped Christmas Cheer Dies
Here’s one of my favorite tips from this week’s Quick Class!
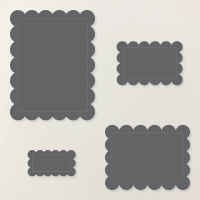
The Scalloped Christmas Cheer Dies are wonderful for creating decorative edges, and you don’t have to use an entire die-cut shape to get the look you want.
For this Christmas card, I wanted scalloped borders along the top and bottom of my Designer Series Paper.
Rather than cutting two complete scalloped rectangles, I used the largest die to cut two strips of Mossy Meadow cardstock.
Here’s how I did it:
- Cut two strips of Mossy Meadow Two-Tone Cardstock.
- Position the strips under opposite edges of the largest Scalloped Christmas Cheer Die.
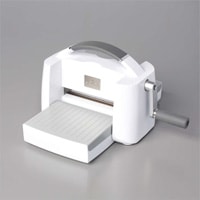
- Run them through your Stampin’ Cut & Emboss Machine.
- You’ll end up with two pieces that have a scalloped edge on one side and a straight edge on the other.
The straight edges will be hidden behind the Designer Series Paper, so there’s no need to waste cardstock cutting complete rectangles!
I attached the scalloped strips to the back of my 4-1/4″ x 3″ Neutral Noel Designer Series Paper panel, allowing the decorative edges to extend slightly beyond the paper.
Then I trimmed the excess cardstock from both ends with scissors.
The result is a pretty scalloped border above and below the Christmas tree paper.
Cardmaking Tip: You can use this same technique with other decorative dies to create borders for birthday cards, thank-you cards, and all kinds of handmade projects.
Add a Simple Ribbon Accent
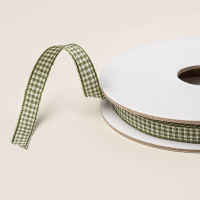
Before attaching the decorated panel to the Christmas card base, I added a strip of Mossy Meadow and Berry Vanilla 1/4″ Gingham Ribbon.
I cut a piece approximately 5″ to 5-1/2″ long, just enough to wrap around the panel and secure the ends on the back.
Here’s a ribbon trick I use all the time.
Instead of tying a bow or knot around the entire card, I attach a flat piece of ribbon first, leaving the front loose.
After the panel is attached to the card, I use a second, shorter piece of ribbon to tie a knot around the first piece.
This gives me much more control over where the knot sits and makes it easier to get a neat finish.
It’s a simple technique, but it makes adding ribbon so much easier!
Once the ribbon was secured on the back, I attached the decorated panel slightly above the center of the Basic Beige card front.
Layer Christmas Trees for Extra Dimension
Next, I wanted to add a little more interest to the Christmas tree design.
For this, I used the Layered Tags Dies, a special quarterly die set available to Paper Pumpkin subscribers.
The set includes several useful shapes, including Christmas trees and tags.
I cut three trees from Mossy Meadow Two-Tone Cardstock:
- One large Christmas tree
- Two smaller Christmas trees
I chose the darker side of the cardstock to coordinate with the scalloped borders.
I arranged the trees over the patterned paper, staggering their positions to complement the trees already printed on the paper.
Two of the trees were attached with regular adhesive, while the third was raised with Stampin’ Dimensionals.
That little bit of dimension makes the trees stand out without adding too much bulk.
Another idea: These trees would also look beautiful cut from gold foil cardstock! The metallic finish would coordinate perfectly with the gold accents in the Designer Series Paper.
Stamp a Simple Holiday Greeting
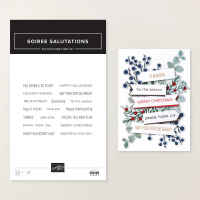
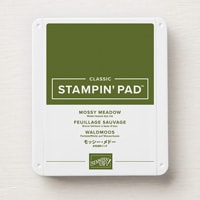
For the sentiment, I used the Soiree Salutations Stamp Set and stamped “Holiday Wishes” in Mossy Meadow ink.
I punched the greeting with the Three Banner Punch, using Basic Beige Two-Tone Cardstock.
I like how the neutral label coordinates with the card base while allowing the greeting to stand out.
I attached the label with Stampin’ Dimensionals, overlapping the lower portion of the Christmas tree panel.
One of my favorite cardmaking design tricks is to let elements overlap slightly. It helps connect the different pieces of a card and creates a more interesting arrangement.
Finish the Christmas Card with Gold Dots
Of course, we needed just a little more sparkle!
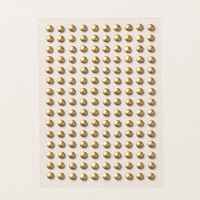
To finish this Christmas card, I added three Gold Adhesive-Backed Dots.
I arranged them in a visual triangle, placing the embellishments in different areas of the card.
This is a design technique I use frequently because it helps balance the overall layout and draws your eye around the card.
The gold dots also coordinate beautifully with the gold accents in the Designer Series Paper.
And that’s our finished Christmas card!
Watch the Christmas Card Tutorial Replay
Want to see exactly how I created those scalloped borders and layered Christmas trees?
In this week’s Quick Class replay, I’ll show you the entire process, including my paper-saving die-cutting trick, how I attach ribbon in two pieces, and how to arrange the die-cut trees for a balanced design.
Watch the full video tutorial below!
More Creative Inspiration with Paper Pumpkin
During this week’s Quick Class, I also shared a little information about Paper Pumpkin, Stampin’ Up!’s monthly crafting subscription.
Paper Pumpkin subscribers have access to exclusive quarterly die sets designed to coordinate with several months of kits.
The Layered Tags Dies I used for today’s Christmas card are one example.
These dies are useful well beyond the original kits, and I love finding ways to incorporate them into my other cardmaking projects.
I also mentioned a special promotion offering double Stampin’ Rewards on qualifying Paper Pumpkin subscriptions. Be sure to check the current promotion details before ordering.
Join Me for Cards & Company!
This Christmas card is one of the designs featured in my November Cards & Company Zoom Card Class.
Each month, we get together on Zoom to make six cards featuring three different designs, two of each.
Your class includes prepared cardmaking supplies, approximately $20 in Stampin’ Up! products, and access to the video replay and PDF tutorial.
Registration for November’s class has already closed, but I’d love to have you join us for a future class! For info about my upcoming in-person and virtual classes beyond my Ultimate Christmas Card Class , check out my class descriptions here and my calendar here. I hope to see you at a class sometime soon, but you can always find ideas here on my blog as well as on Facebook and Instagram. Subscribe to my weekly newsletter at the bottom of this page so you don’t miss a thing!
Neutral Noel Christmas Card Measurements:
- Basic Beige Card Base—5 1/2” x 8 ½”, scored at 4 ¼”
- Basic Beige Two-Tone – 1 ½” x 3”
- Neutral Noel Specialty DSP – 3” x 4 ¼”
- Mossy Meadow Two-Tone – 5” x 1 ½” (2), 3” x 2”
- Mossy Meadow & Very Vanilla ¼” Gingham Ribbon – 9”
Neutral Noel Christmas Card Supplies:


0 Comments