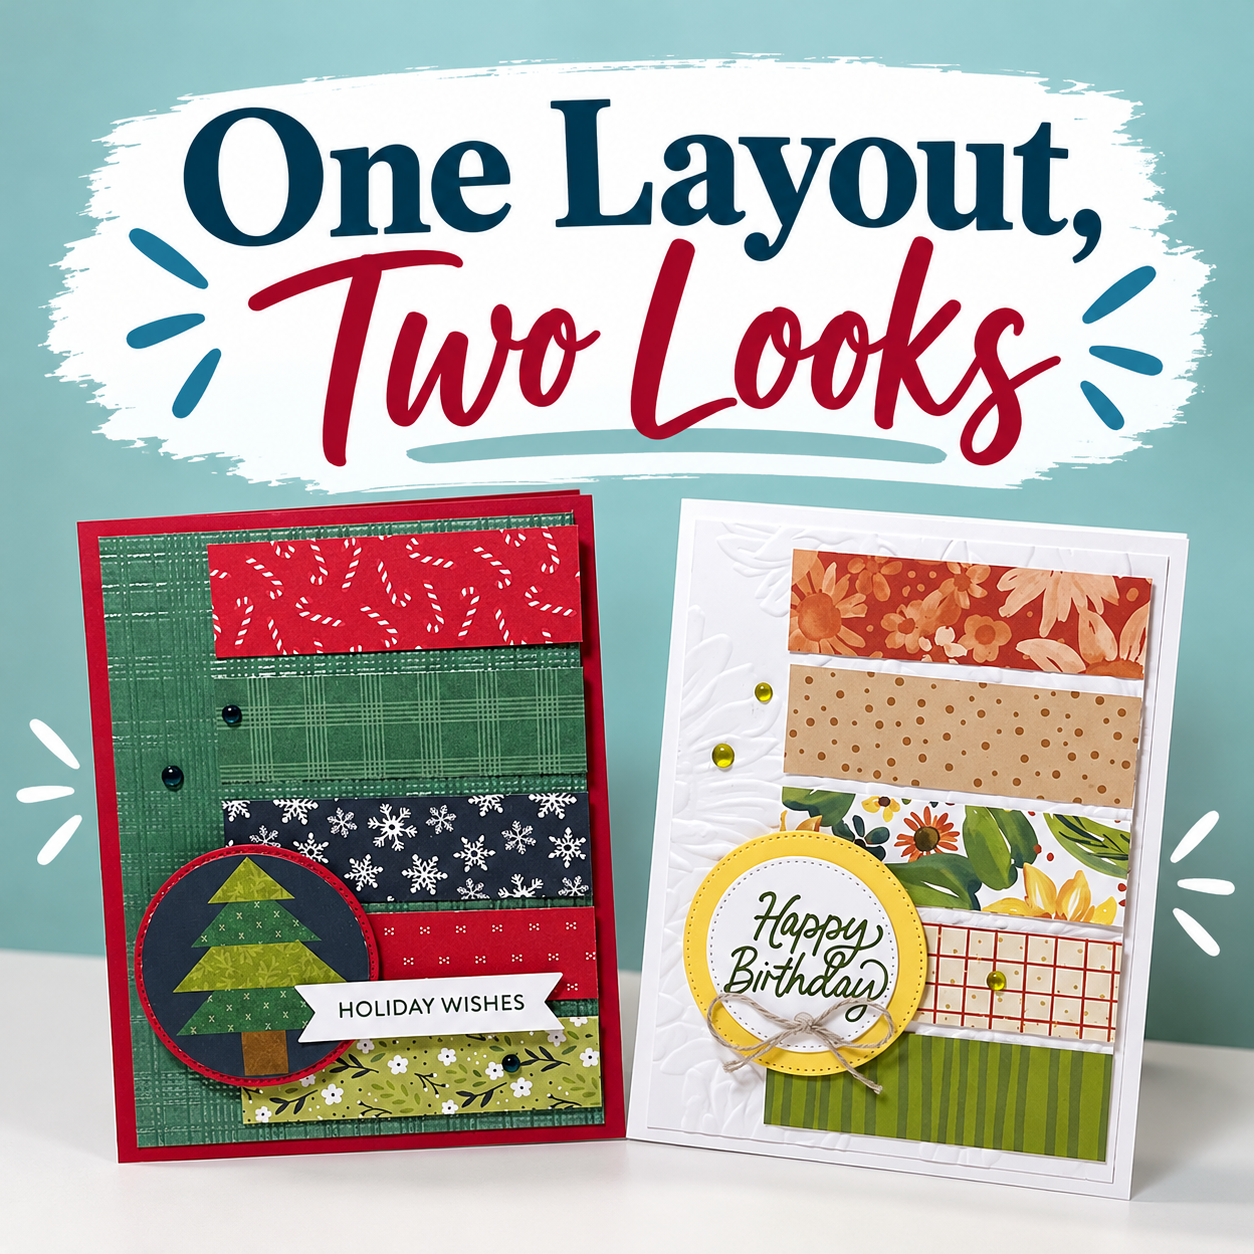
Looking for an easy Christmas card tutorial that makes the most of your Designer Series Paper? This week, I’m sharing how to take one simple card layout and give it a completely different look just by changing the paper, colors, and sentiment. It’s a wonderful way to get more mileage out of your favorite card designs, and it’s perfect for using up those leftover paper scraps!
For this week’s Quick Class, I decided to revisit a card design from my Cards & Company Zoom Class the night before. We originally made a cheerful birthday card featuring sunflowers, but I thought it would be fun to transform that same layout into a festive Christmas card.
The result? Two completely different cards using essentially the same design!
One Card Layout, Two Different Looks
One of my favorite things about cardmaking is discovering how versatile a good layout can be.
Sometimes we spend so much time trying to come up with something completely new that we forget we can reuse our favorite designs.
The original card from my Cards & Company Zoom Class featured Sunflower Field Designer Series Paper, a circular focal point, a birthday greeting, and a little twine bow.
For the Christmas card version, I kept the basic arrangement but changed the colors, patterned papers, focal point, and sentiment.
It’s amazing how different the two cards look!
Creating a Beautiful Textured Background
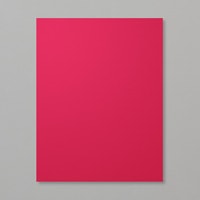
I started with a Real Red cardstock base because you just can’t go wrong with red for a Christmas card!
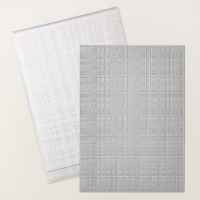
For the background, I used Peaceful Pine Two-Tone Cardstock and the Softly Woven 3D Embossing Folder.
If you haven’t tried embossing Two-Tone Cardstock, you’re missing out on a really fun effect!
Because the cardstock has a white core, some of that white shows through when you emboss it with a deeply textured embossing folder. The result is a beautiful, almost distressed appearance that adds interest without requiring any additional embellishments.
I chose to use the darker side of the Peaceful Pine cardstock, although the lighter side would work beautifully, too.
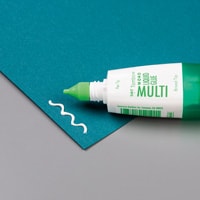
Quick Tip: When adhering embossed cardstock, I prefer liquid glue rather than tape adhesive. The glue helps create a secure bond despite the uneven, textured surface.
A Great Way to Use Designer Series Paper Scraps
Next came one of my favorite parts of this card: the patterned paper strips!
I used several designs from the Stitched Season Designer Series Paper collection.
This collection includes some beautiful holiday patterns, including:
- Candy canes
- Snowflakes
- Plaids
- Pretty floral designs
- Coordinating seasonal patterns
One of the things I love about this paper is that both sides are so useful. Some patterns are perfect for a Christmas card, while others work beautifully for everyday cards.
For this project, I cut five strips measuring 3″ x 1-7/8″.
I arranged the strips vertically on the card front, staggering the patterns and colors to create an interesting design.
I started by adhering the bottom strip, followed by the top strip, and then filled in the remaining spaces. This made it easier to keep everything evenly arranged.
Again, I used liquid glue because I was adhering the strips to an embossed background.
Cardmaking Tip: This layout is an excellent way to use leftover Designer Series Paper! You don’t need large pieces, and you can mix and match coordinating patterns to create a completely different look every time.
Creating the Christmas Tree Focal Point
For the focal point, I used one of the beautiful Christmas tree designs from the Stitched Season Designer Series Paper.
Originally, I planned to use the tree as a square, just as it appeared on the paper.
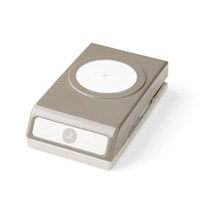
Then I saw a wonderful idea from my friend Bonnie O’Neil, who used a 2″ Circle Punch to cut out the tree instead.
What a great idea!
Sometimes the simplest changes make the biggest difference.
I punched out the Christmas tree and layered it onto a slightly larger circle cut with the Stylish Shapes Dies.
The circular focal point coordinates beautifully with the original birthday card layout, while the Christmas tree gives the card a completely different personality.
I positioned the layered circle toward the left side of the card, overlapping several of the patterned paper strips.
This helps tie the different elements together and creates a balanced design.
Adding the Perfect Holiday Greeting
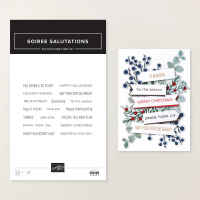
For the greeting, I turned to the Soiree Salutations Stamp Set.
This is such a versatile stamp set because it includes sentiments for so many different occasions throughout the year.
For this card, I chose “Holiday Wishes” and stamped it using Peaceful Pine ink.
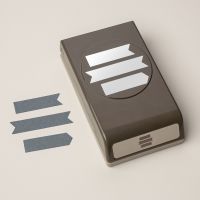
I then punched the greeting using the Three Banner Punch.
Here’s a little tip when using this punch: Be sure to leave a little extra cardstock on both sides of the area you’re punching. This helps prevent the punch from jamming.
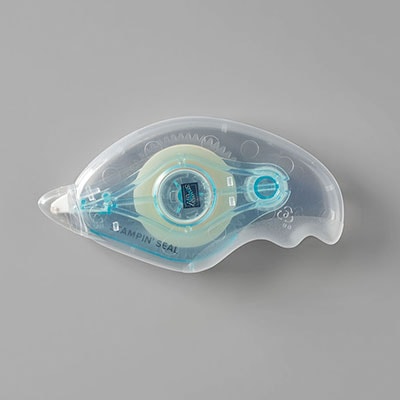
To attach the greeting, I used a Stampin’ Dimensional on one side and regular adhesive on the other.
Why?
Because part of the greeting overlaps the raised circular focal point. Using two different adhesives keeps the sentiment level instead of having one side sit higher than the other.
It’s a small detail, but it makes a difference in the finished card!
A Little Bling to Finish It Off
Of course, I couldn’t finish this card without adding a little sparkle!
I used three Dewdrops Embellishments, arranging them in a visual triangle around the card.
This is one of my favorite design tricks.
Placing embellishments in a triangle helps move the viewer’s eye around the card and creates a pleasing, balanced arrangement.
And just like that, our Christmas card was complete!
Watch the Easy Christmas Card Tutorial Replay
Want to see exactly how I put this card together?
In this week’s Quick Class replay, I’ll walk you through the entire process, from creating the embossed background to arranging the Designer Series Paper strips and adding the finishing touches.
You’ll also get to see the original sunflower birthday card so you can compare the two designs.
I share a new Quick Class every Wednesday at 5 PM Eastern on Facebook and YouTube, featuring cardmaking ideas, techniques, and inspiration using Stampin’ Up! products.
A quick note: The Stitched Season Designer Series Paper was on the Last Chance List when I recorded this video, so availability may be limited.
You can shop for Stampin’ Up! supplies through my online store.
Try This Card Layout for Your Next Project!
I hope this week’s Quick Class inspires you to look at your favorite card designs a little differently.
You don’t always need a brand-new layout to create something beautiful.
Try changing the Designer Series Paper, switching up the colors, or using a different sentiment. You might be surprised by how many different cards you can create from one simple design.
This particular layout would work beautifully for birthday cards, thank-you cards, thinking-of-you cards, and just about any occasion you can imagine.
And it’s a terrific way to use those Designer Series Paper scraps we all seem to accumulate!
I’d love to know: Do you regularly reuse your favorite card layouts, or do you prefer to start with a new design each time?
For info about my upcoming in-person and virtual classes beyond my Ultimate Christmas Card Class , check out my class descriptions here and my calendar here. I hope to see you at a class sometime soon, but you can always find ideas here on my blog as well as on Facebook and Instagram. Subscribe to my weekly newsletter at the bottom of this page so you don’t miss a thing!
Christmas Card Look Measurements:
- Real Red Card Base—5 1/2” x 8 ½”, scored at 4 ¼”
- White Willow –4” x 5 ¼” embossed with Softly Woven embossing folder, scrap punched with Three Banner Punch
- Real Red Two-Tone – 2” x 2 ½” circle die cut with Stylish Shapes die
- A Stitched Season DSP – 7/8” x 3” (5 – one of each design), tree punched with 2” circle punch
- Dewdrops Embellishments – 3
Christmas Card Look Supplies:






0 Comments