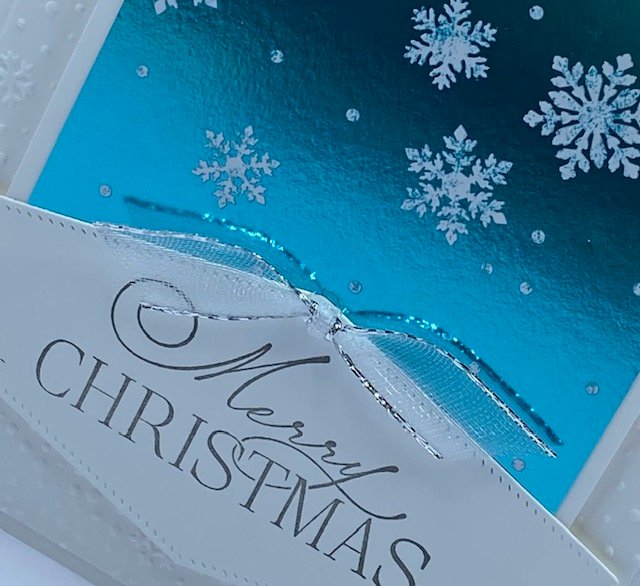
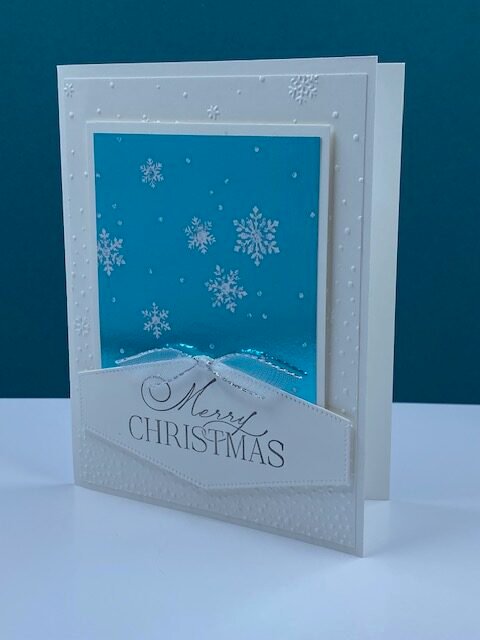
My favorite card of the year so far! We made this beauty in my Stamp-a-Stack class this month. It features the amazing Snowflake Magic DSP and the shine is simply stunning. This DSP won’t be around much longer so grab it while you still can.
Below are all the details for this card. To learn about my class offerings, check out my class descriptions here and my calendar here. I hope to see you at a class sometime soon!

Snowflake Magic Card Measurements:
- Thick Basic White – 8 ½” x 5 ½”, score and fold at 4 ¼”
- Basic White – 4” x 5 ¼”, 3 ¼” x 3 ¼”, 4” x 2”
- Pretty Peacock – 2 ¼” x 4 ¾”, 3 ¼” x 3 ¼”
- Snowflake Magic DSP – 2” x 4 ½”
- Silver & White Ribbon – 4”
Instructions:
- Fold Thick Basic White card base.
- Run large Basic White panel through Stampin’ Cut & Emboss Machine using the Snowflake Sky 3D Embossing folder. Adhere to card front using Multi-Purpose Liquid Glue.
- Add DSP piece to its coordinating Basic White mat. Add to upper third center of card front using Dimensionals.
- Die cut 2nd smallest hexagonal Essential Die from 4” x 2” Basic White piece. Stamp “Merry Christmas” in the center in Basic Gray ink. Adhere to bottom third center of card front, overlapping the DSP a little bit, using Dimensionals.
- Tie a tight knot in the ribbon and trim excess. Adhere at the top point of the hexagonal label using a Mini Glue Dot.


0 Comments