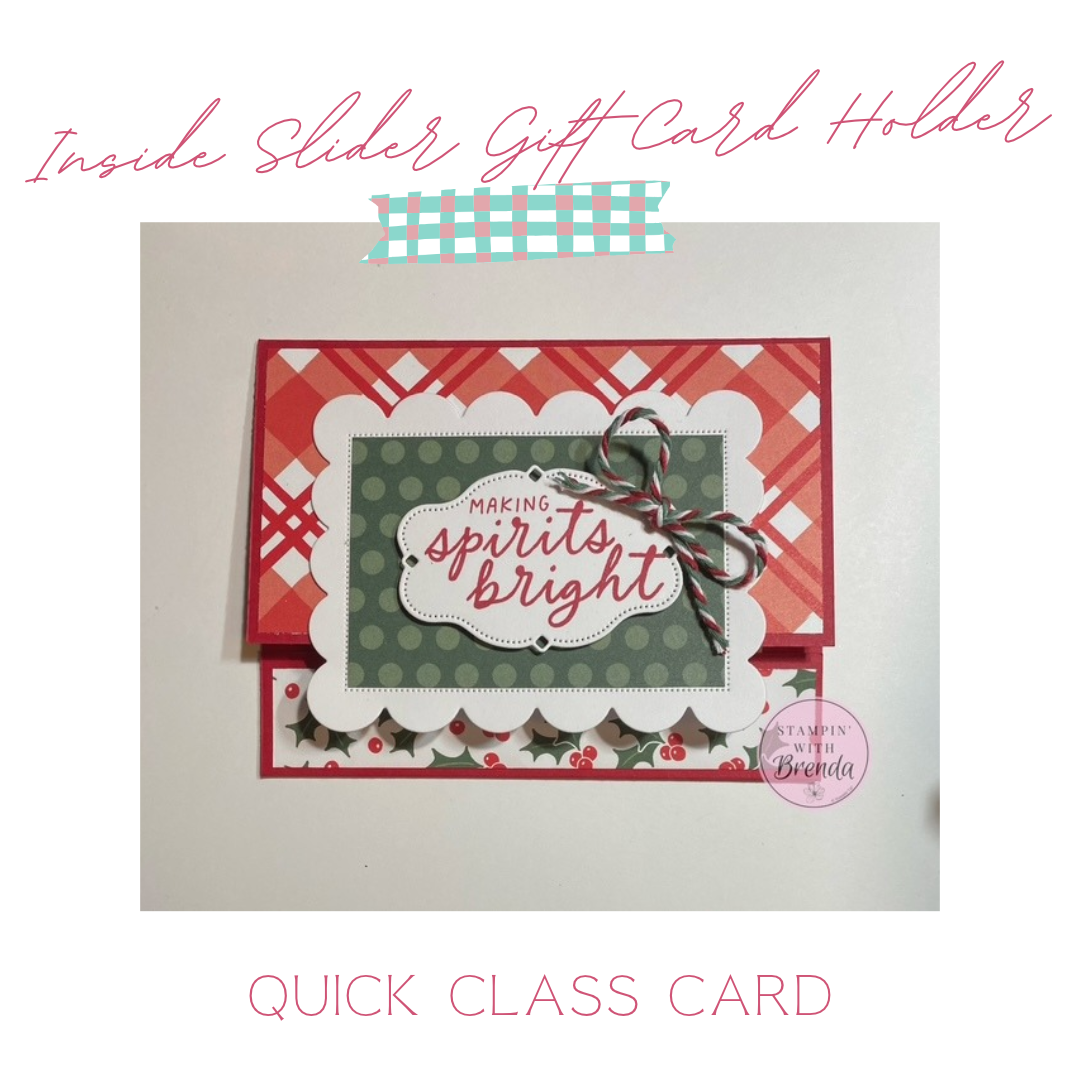
Looking for a creative gift card holder to make your holiday gifts feel a little more personal? This week on my Quick Class, I’m sharing a fun Inside Slider card that combines a handmade Christmas greeting with a clever sliding mechanism. It’s a wonderful way to dress up a gift card, and it’s easier to make than you might think!
With the holidays approaching, I’m focusing on Christmas cards throughout November for both my Stamp-a-Stack and Cards & Company classes. I’ve been looking for some interesting designs to share, and this Inside Slider Gift Card Holder caught my attention.
The best part? You can use this design as a regular Christmas card or turn it into a gift card holder with just one small addition!
Watch the Inside Slider Gift Card Holder Tutorial
In the video, I’ll walk you through the construction of the sliding mechanism, show you how to decorate the card with Designer Series Paper, and share a few helpful tips for assembling the pieces.
How Does an Inside Slider Gift Card Holder Work?
This card starts with a simple folded pocket, but there’s a little surprise inside!
When you open the card, an interior panel slides upward, revealing your greeting or a gift card tucked inside.
Close the card, and the panel slides back into place.
It’s a clever little mechanism that adds movement and makes opening the card more fun.
You can certainly use the pocket alone to hold a gift card, but I love the added surprise of the sliding panel.
Step 1: Create the Gift Card Holder Base
Start with a piece of Real Red cardstock measuring 8-1/2″ x 5-1/2″.
Score at 5-1/2″, then fold the remaining bottom section upward to create a pocket approximately 1-1/2″ deep.
Fold the upper section down so its edge meets the folded pocket.
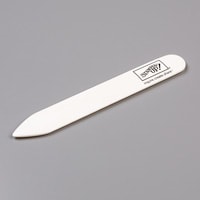
Use your Bone Folder to give the folds a nice, sharp crease.
Next, apply a very thin line of adhesive along each outside edge of the pocket.
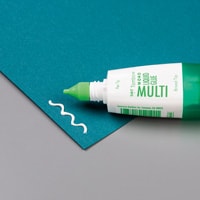
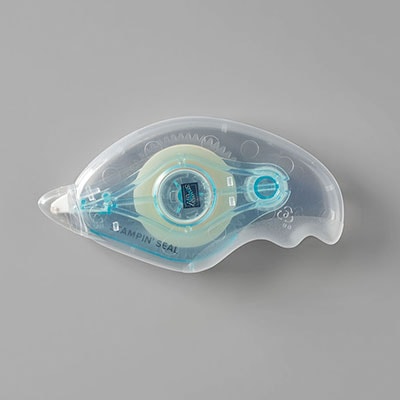
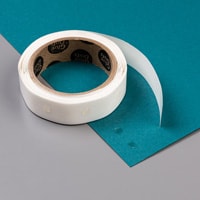
You can use Multipurpose Liquid Glue or Tear & Tape.
Quick Tip: Keep the adhesive as close to the outside edges as possible without letting it seep out. This leaves plenty of room inside the pocket for the sliding panel.
Press the edges firmly to secure the pocket.
At this point, you already have a simple gift card holder! You could slip a gift card into the pocket and stop here.
But we’re going to take it one step further.
Step 2: Make the Inside Slider Mechanism
This is the part that makes the card special!
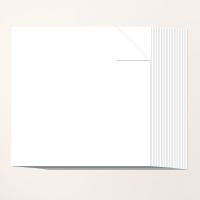
Cut a piece of White Willow cardstock measuring 4″ x 4-1/2″.
Score along the 4-1/2″ side at 1/2″ and fold that narrow section down.
Now open the card and position the folded white panel inside the pocket.
Center it from side to side, with the scored edge sitting just below the upper fold.
You don’t want the edge directly in the fold because the mechanism needs a little room to move.
Apply adhesive to the folded tab, then close the card and press firmly.
Once the adhesive has set, open the card.
The white panel should slide upward as the card opens!
Close the card again, and it slides back into the pocket.
It’s such a fun effect, and you don’t need any complicated tools or special hardware to create it.
If you’re having trouble visualizing how the pieces fit together, be sure to watch the video replay. Seeing the mechanism in action makes the process much easier to understand.
Step 3: Decorate with Timeless Christmas Designer Series Paper
Now that the gift card holder mechanism is working, it’s time to decorate!
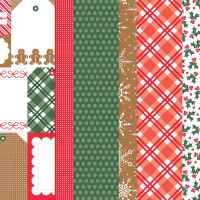
I chose the Timeless Christmas Designer Series Paper because I love the coordinating holiday patterns.
For this card, I used a combination of snowflakes, holly and berries, and a pretty checkerboard design.
I added patterned paper to the upper and lower sections of the card front.
One of the nice things about this paper collection is that it includes multiple sheets of each design, making it especially useful when you’re creating several cards or gift card holders.
You can find the complete cutting measurements for the decorative pieces in the video description.
Step 4: Add a Scalloped Focal Point
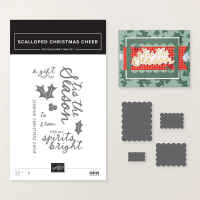
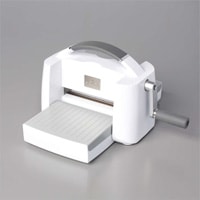
For the front of the card, I used the Scalloped Christmas Cheer Dies to create a beautiful scalloped panel from White Willow cardstock.
I used the second-largest scalloped die, then added a smaller white rectangle measuring 2-3/8″ x 3-1/2″.
That smaller rectangle fits neatly inside the stitched border, allowing the pretty stitching to remain visible.
Here’s an important tip for this step:
Only apply adhesive to the upper portion of the scalloped panel!
Because the panel overlaps the opening of the card, adding adhesive to the entire back would glue your card shut.
This is something to watch for whenever you’re making cards with overlapping elements or unusual folds.
Step 5: Stamp the Christmas Greeting
For the greeting, I turned to the Scalloped Christmas Cheer stamp set and chose the sentiment:
“Making Spirits Bright”
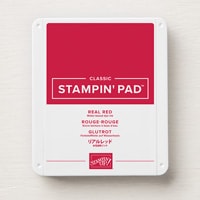
I stamped it in Real Red ink onto a stitched label cut with the Sweet Words & Labels Dies.
These dies are part of the Winnie the Pooh collection, but they include some wonderful label shapes that work for all kinds of occasions.
Sometimes it’s worth revisiting products we already own to discover new ways to use them!
A Tip for Stamping Mixed Fonts
When stamping a sentiment that combines different fonts, it can be tricky to decide which part should be straight.
For this greeting, I concentrated on keeping the word “Making” level.
Once that word was positioned correctly, the rest of the greeting fell naturally into place.
It’s a simple trick that helps when you’re working with sentiments that combine script and printed lettering.
I adhered the stamped label to the scalloped panel to complete the main focal point.
Step 6: Add a Baker’s Twine Bow
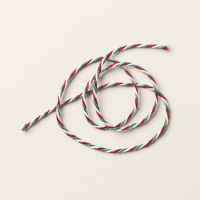
Rather than adding gems or other embellishments, I decided to finish this card with a bow made from Multicolor Christmas Baker’s Twine.
I tied a small bow and attached it to the card front with a Glue Dot.
During the Live, I also shared a clever idea I picked up at a recent event.
Did you know you can separate the strands of Multicolor Baker’s Twine?
By gently unwinding the different colors, you can create thinner strands to use individually.
This is especially useful when you’re making gift tags or want a more delicate look.
It’s a great way to get even more versatility from one spool of twine!
Step 7: Turn Your Inside Slider into a Gift Card Holder
Now for the finishing touch!
You can leave the inside slider blank and use it to write your Christmas message.
Or you can turn it into a gift card holder.
I stamped the sentiment “A Gift for You” in Peaceful Pine ink on the inside panel.
Then, to attach a gift card, simply use a Glue Dot to secure it to the sliding panel.
When the recipient opens the card, the gift card rises along with the slider!
It’s such a fun way to present a gift card, and it makes the gift feel a little more thoughtful than simply slipping it into an envelope.
More Ideas for Your Handmade Gift Card Holders
Once you’ve made one of these Inside Slider cards, you’ll see how easy it is to change the look for different occasions.
Try using:
- Birthday Designer Series Paper for a birthday gift card
- Floral patterns for Mother’s Day
- Graduation colors for a graduation gift
- Winter-themed paper for holiday gift giving
You can also change the greeting and embellishments to suit the occasion.
And because the mechanism is made with just a few scored pieces of cardstock, it’s a design you can make again and again.
Make Your Holiday Gift Giving a Little More Personal
Gift cards are certainly convenient, especially during the busy holiday season. But presenting one in a handmade gift card holder adds a special touch.
This Inside Slider design is a wonderful combination of a Christmas card and a gift card holder, and it’s sure to bring a smile when the recipient opens it.
Be sure to watch the video replay above to see exactly how the slider works and follow along as I assemble the card.
And if you make one, I’d love to see it!
Do you enjoy making gift card holders for the holidays, or do you usually tuck gift cards inside a regular greeting card?
Let me know in the comments!
For info about my upcoming in-person and virtual classes beyond my Ultimate Christmas Card Class , check out my class descriptions here and my calendar here. I hope to see you at a class sometime soon, but you can always find ideas here on my blog as well as on Facebook and Instagram. Subscribe to my weekly newsletter at the bottom of this page so you don’t miss a thing!
Gift Card Holder Measurements:
- Real Red Card Base—5 1/2” x 8 ½”, scored at 1 ¼” and 5 ½”
- White Willow –4” x 4 ½” scored at ½” on 4” side, 4 ½” x 3 ½”, 3” x 2”
- Timeless Christmas DSP – 5 ¼” x 1” (design 1), 5 ¼” x 2 ¾” (design 2), 2 3/8” x 3 ½” (design 3)
- Multicolor Christmas Baker’s Twine – 7”
Gift Card Holder Supplies:


0 Comments