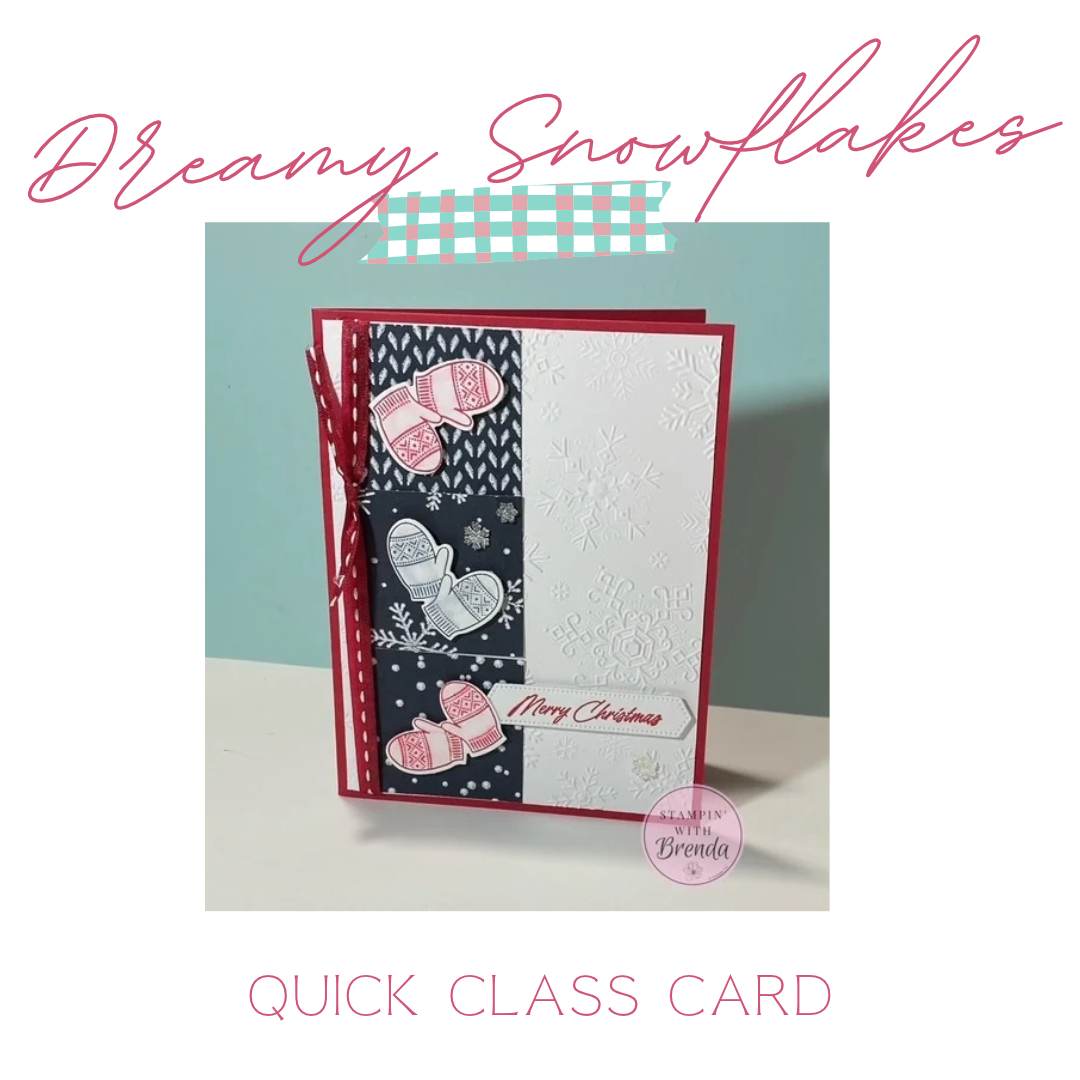
The Dreamy Snowflakes Bundle from Stampin’ Up! is perfect for creating festive handmade Christmas cards, and this week’s Quick Class Live features a card that’s full of winter texture and charm! We’re combining embossed snowflakes, textured paper, adorable little mittens, and a simple coloring technique using Blender Pens.
This is also one of the cards we’re making at my November Stamp-a-Stack class, where everyone gets to make 10 cards featuring five different designs.
Even if you can’t join us in person, you can follow along with the video replay and make this card at home!
A Closer Look at the Dreamy Snowflakes Bundle
One of my favorite things about the Dreamy Snowflakes Bundle is that it includes something a little different: a hybrid embossing folder.
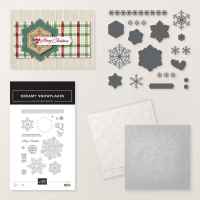
Along with the stamps and dies, this bundle includes a snowflake embossing folder that works with a coordinating die to emboss and cut three snowflakes at the same time!
Here’s how it works:
- Place the coordinating die into the specially designed area inside the embossing folder.
- Position your cardstock over the die.
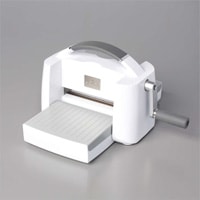
- Run everything through your die-cutting and embossing machine.
- You’ll have beautifully embossed snowflakes that are also die cut!
It’s a great way to create dimensional snowflake accents for winter cards.
For today’s project, however, I’m keeping things a little simpler and using the embossing folder to create a beautiful textured background.
One thing I especially like is that you can position your cardstock differently inside the folder to change which snowflakes appear on your card. Every background can look a little different!
Creating Our Christmas Card
For this card, I chose a classic holiday combination of Real Red, Secret Sea, and Basic White.
I started with a Real Red card base and added a Basic White panel to the inside.
For the front, I embossed a piece of Basic White cardstock using the Dreamy Snowflakes embossing folder. The raised snowflake design creates a beautiful background without adding extra layers or complicated techniques.
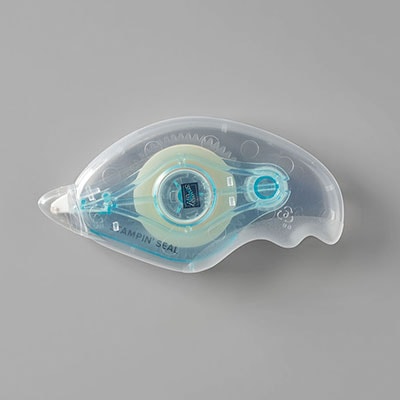
Because embossed cardstock has an uneven surface, I prefer using liquid adhesive to attach it securely.
Add Texture with Winter Dream Paper
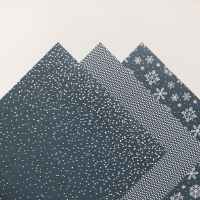
Next, I used three different patterns from the Winter Dream textured paper.
These papers have wonderful winter-inspired textures, including designs that resemble a cozy sweater, snowballs, and snowflakes.
I cut three squares measuring 1-5/8″ x 1-5/8″ and arranged them vertically on a Secret Sea cardstock panel.
I love how the three patterns work together! Using a different texture for each square adds interest while keeping the overall design clean and simple.
I also wrapped a piece of 1/2″ Real Red Stitched Ribbon around the panel, securing the ends on the back.
Here’s a little ribbon tip: Instead of tying the ribbon around the entire panel, I like to attach a flat strip first and then use a shorter piece to tie a knot around it. It’s easier to control and gives you a neat finish.
Coloring the Mittens with a Blender Pen
Now for my favorite little detail: those adorable mittens!
The Dreamy Snowflakes Bundle includes a mitten stamp and coordinating die, and I thought the mittens would make the perfect focal point for each of our three textured squares.
I stamped three sets of mittens:
- Two in Real Red
- One in Secret Sea
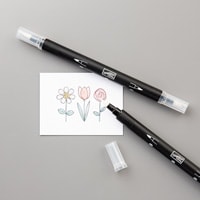
Rather than coloring them with Stampin’ Blends or markers, I used a Blender Pen to add just a hint of color.
How the Blender Pen Technique Works
Blender Pens contain a clear blending solution. When you use one over a stamped image made with water-based ink, it picks up and moves some of that ink into the uncolored areas.
Here’s what I did:
- Stamp the mittens using Real Red or Secret Sea ink.
- Start coloring with the Blender Pen in an area where the stamped image has more ink.
- Gently pull that color into the white areas of the mitten.
- Continue until you have a soft, lightly colored look.
- Clean the Blender Pen tip on scrap paper until it runs clear before switching colors.
This technique gives you a much softer look than coloring the entire image with a marker.
It’s especially nice for small stamped images like these mittens!
Another helpful tip: You can die cut your mitten shapes first and then stamp directly onto them. This can save time when you’re making multiple cards, especially for a Stamp-a-Stack class.
Once my mittens were ready, I attached one set to each textured square using Stampin’ Dimensionals. I angled them slightly for a more playful arrangement.
Finishing the Card
For the greeting, I stamped “Merry Christmas” in Real Red ink using the sentiment included in the Dreamy Snowflakes stamp set.
I cut it out with the coordinating stitched label die. I really like the elongated shape of this label because it’s a little different from the usual rectangles and banners.
I attached the greeting with Stampin’ Dimensionals, positioning it so that it connects visually with the mittens.
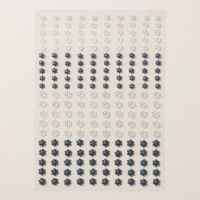
Then I added a few clear self-adhesive snowflakes for just a little sparkle.
Finally, I tied a small knot in the Real Red Stitched Ribbon and trimmed the ends.
And that’s our finished Christmas card!
Make It Your Own with Different Colors
Although I used traditional Christmas colors for this project, the Dreamy Snowflakes Bundle is certainly not limited to holiday cards.
Imagine this same layout in:
- Pool Party and Highland Heather
- Coastal Cabana and Fresh Freesia
- Soft blues, purples, and pinks for a winter birthday card
Simply change the greeting, and you have a completely different look!
That’s one of the things I love about a good card layout. Once you find one that works, you can use it over and over with different colors, stamps, and embellishments.
Watch the Dreamy Snowflakes Card Tutorial
Want to see how everything comes together?
In this week’s Quick Class Live replay, I’ll walk you through the entire card, including how the hybrid embossing folder works, my ribbon trick, and how to use Blender Pens to create soft color on the mittens.
Watch the full video tutorial below!
I’d also love your opinion! During the video, I share two versions of this card, including one with an additional Secret Sea layer behind the textured squares.
Which version do you like better?
Join Me for More Cardmaking Inspiration!
If you enjoy making handmade cards, I’d love to have you join me for my Quick Class Live every Wednesday at 5 PM Eastern on Facebook and YouTube.
I share cardmaking ideas, helpful tips, techniques, and projects using Stampin’ Up! products. Whether you’re a beginner or have been stamping for years, there’s always something fun to try!
For info about my upcoming in-person and virtual classes beyond my Ultimate Christmas Card Class , check out my class descriptions here and my calendar here. I hope to see you at a class sometime soon, but you can always find ideas here on my blog as well as on Facebook and Instagram. Subscribe to my weekly newsletter at the bottom of this page so you don’t miss a thing!
Dreamy Snowflakes Card Measurements:
- Real Red Card Base—5 1/2” x 8 ½”, scored at 4 ¼”
- White Willow –4” x 5 ¼” (2)
- Winter Dreams DSP – 1 ¾” x 1 ¾” (3 – one in each design)
- Real Red ¼” Stitched Ribbon – 9”
Dreamy Snowflakes Card Supplies:

0 Comments