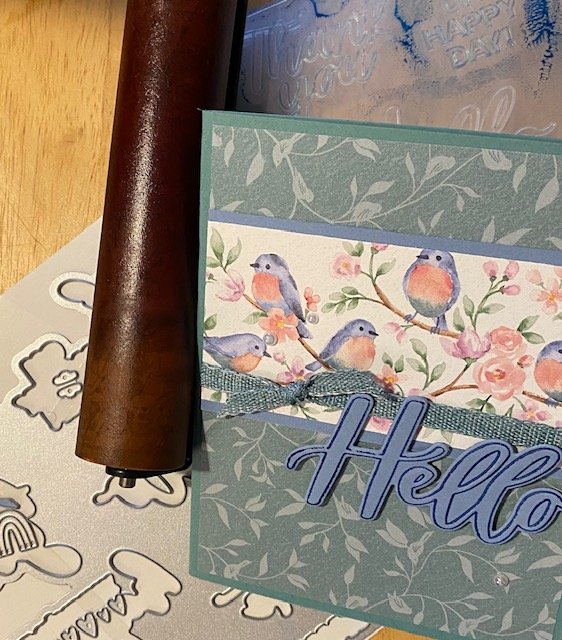
Stampin’ Up! will be offering a new tool – a BRAYER – in the new January-April 2024 mini catalog! It’s actually not new, but rather returning from a long hiatus. There are LOTS of things that can be done with a brayer, but the one technique being highlighted in the new catalog is inking embossing folders.
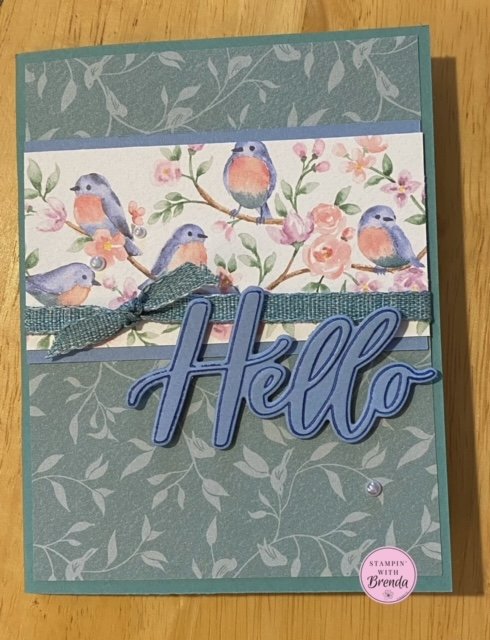
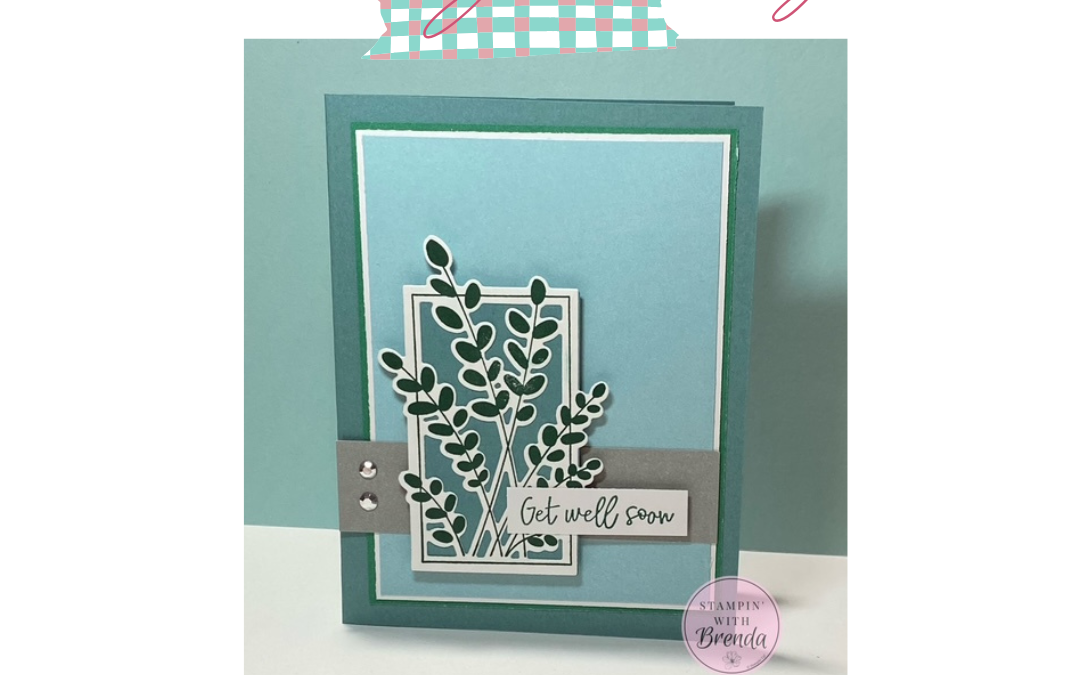
This technique is not new either, rather, it is formalizing what crafters have done for years. What IS different is the new Thoughtful Moments Hybrid embossing folder, also coming in January. I shared how to use this embossing folder and coordinating die to create a card in my Quick Class #57 on 12/13/23. I also offered some tips on using a brayer. Check it out:
How to Use a Brayer:
Let’s explore some more tips and tricks for using a brayer in cardmaking to achieve stunning and polished results.
- Choose the Right Brayer: Not all brayers are created equal. When selecting a brayer for cardmaking, opt for one with a rubber roller, as it provides better ink transfer and smoother application. Additionally, consider the size of the brayer – a smaller one may be more manageable for intricate designs, while a larger brayer is suitable for covering larger areas. The new one from Stampin’ Up! is PERFECT!
- Prepare Your Surface: Before using, ensure your cardstock or paper is clean and free from debris. Using a smooth surface will result in a more even application of ink. It’s advisable to use high-quality, heavyweight paper or cardstock to prevent warping or tearing during the brayering process. Also ensure that your work surface under your paper is clean, as the brayer will react to anything beneath it and show its shadow through.
- Ink Selection: Experiment with different types of inks to achieve varied effects. Dye-based inks work well for quick-drying and vibrant results, while pigment inks offer a more opaque finish. Water-based inks are versatile and can be used for various techniques. Remember to choose inks that are compatible with your chosen paper to prevent smudging or bleeding. I almost always use our water-based inks as they are quite versatile for this technique
- Ink Placement: Apply the ink directly to the brayer in a thin, even layer. To ensure uniform coverage, roll it on a scrap paper a few times to distribute the ink evenly. This step prevents blotches or uneven application on your cardstock.
- Experiment with Techniques: The brayer is a versatile tool that can be used for more than just basic ink application. Experiment with techniques such as ombre blending, emboss resist, and ghosting to add depth and interest to your cards. Combine different ink colors or layering techniques to create unique and visually appealing backgrounds.
- Masking and Stamping: Use masking techniques to create defined shapes or sections on your card. Apply a mask to specific areas before brayering, allowing you to create crisp, clean edges. Incorporate stamping into your brayering projects by adding stamped images or patterns to the background for a customized touch.
- Practice and Patience: Like any crafting skill, using a brayer effectively takes practice. Experiment with different pressures, angles, and techniques to find what works best for you. Be patient and embrace the learning process – the more you practice, the more confident and skilled you’ll become.
- Clean Your Brayer: Regularly clean your brayer to prevent color contamination and maintain optimal performance. Use a damp cloth or baby wipe to remove excess ink after each use, or run it under water and dry thoroughly before using again. (DEFINITELY clean and dry the brayer between colors!) This simple step ensures that your brayer remains in top condition for future projects.
Incorporating a brayer into your cardmaking toolkit opens up a world of creative possibilities. By following these tips and experimenting with various techniques, you’ll discover new ways to enhance your card designs and create stunning, professional-looking projects. Embrace its versatility and enjoy the journey of mastering this invaluable tool in your cardmaking endeavors. Happy crafting!
For info about my upcoming in-person and virtual classes, check out my class descriptions here and my calendar here. I hope to see you at a class sometime soon, but you can always find ideas here on my blog as well as on Facebook and Instagram.
Product List- new supplies to be added as they become available.


0 Comments