
Stamping with blending brushes can be a creative and enjoyable way to add depth and dimension to your projects. Here’s a list of tips to help you make the most out of stamping with blending brushes:
- Choose the Right Brushes:
- Select blending brushes with soft, synthetic bristles for smooth blending.
- Use different sizes to accommodate various stamp sizes and details. Stampin’ Up! offers small and large, plus a storage rack for them.
- Prep Your Surface:
- Start with a clean, smooth, and dry surface to ensure the best results.
- Ensure the surface beneath is also smooth and clear.
- Ink Selection:
- Use dye or pigment inks that work well with blending brushes. Stampin’ Up!’s inks are almost all water-based and rich in color for maximum versatility.
- Experiment with different ink colors to create gradients and ombre effects.
- Tap, Don’t Smear:
- Gently tap the blending brush onto the ink pad to pick up color. Start with a little – you can always add more to the brush.
- Avoid smearing the ink; tapping helps control the amount of ink on the brush.
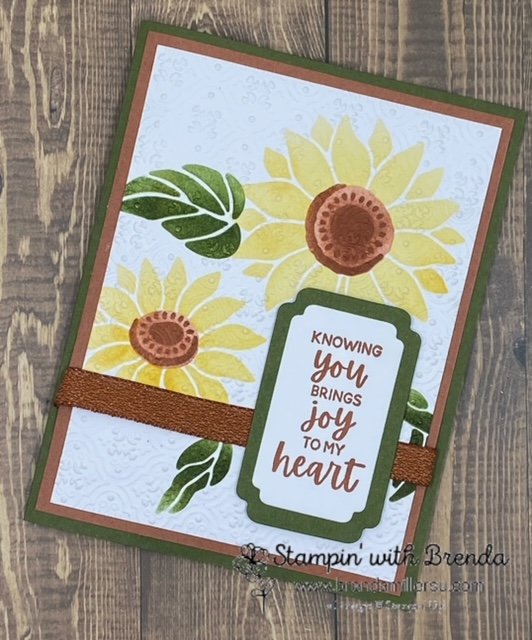
- Build up Colors Gradually:
- Start with a light application and gradually build up color for a seamless blend.
- Layering allows you to control the intensity of the colors.
- Circular Motions:
- Apply ink in small, circular motions for a smooth and even blend.
- Keep a light touch to prevent harsh lines and uneven coverage, and tap off your project once or twice before applying to your project.
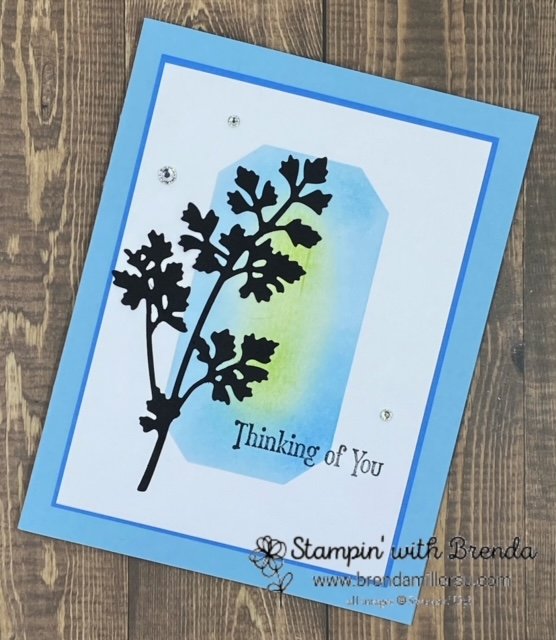
- Masking Techniques:
- Use masking techniques to create layered or overlapping stamped images.
- Mask off areas you want to protect from additional ink. Masking Paper is an excellent tool for this!
- Clean Between Colors:
- Clean your blending brushes between color changes to avoid muddying the colors. Also, dedicating brushes to a “color family” (like greens, blues, etc.) is helpful.
- Simply rub the brush on scrap paper until no more color comes out to “clean” the brush between shades.
- Experiment with Pressure:
- Vary the pressure applied to the blending brush to achieve different effects.
- Light pressure is ideal for soft blends, while firmer pressure can add intensity.
- Try Different Surfaces:
- Experiment with different paper types and surfaces to see how they react to blending. Basic White cardstock is perfect for everyday blending as it is super-smooth.
- Consider using specialty papers like watercolor paper or cardstock.
- Use a Light Hand with Detailed Stamps:
- When working with detailed stamps, use a light touch to avoid over-blending and losing details.
- Use a smaller blending brush for intricate areas.
- Embrace Imperfections:
- Don’t be afraid of imperfections; they can add character to your stamped creations.
- Mistakes can sometimes turn into happy accidents, leading to unique designs.
- Practice on Scrap Paper:
- Before working on your final project, practice blending on scrap paper to get a feel for the colors and techniques.
- Combine Stamping and Blending:
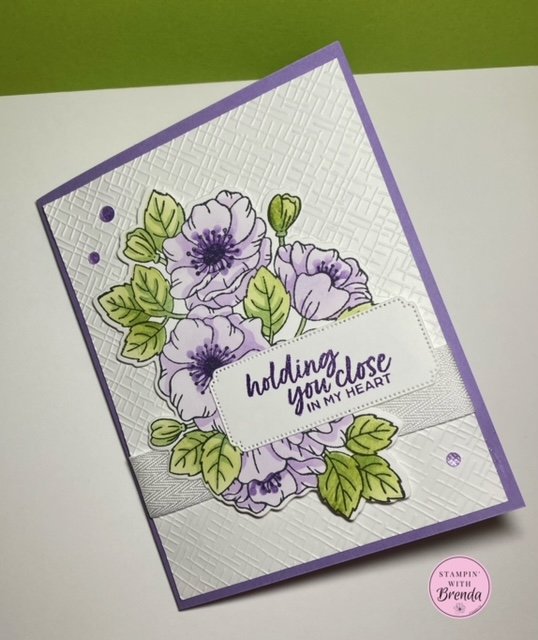
- Experiment with combining stamped images and blending techniques for dynamic results.
- Stamp a focal image and blend around it to create a cohesive background.
Remember, the key to successful blending with brushes is practice and experimentation. Have fun exploring different color combinations and techniques to discover your unique stamping style!
I use Blending Brushes often in my virtual and in-person classes. For info about my upcoming in-person and virtual classes, check out my class descriptions here and my calendar here. I hope to see you at a class sometime soon, but you can always find ideas here on my blog as well as on Facebook and Instagram.
Blending Brush Supplies


0 Comments