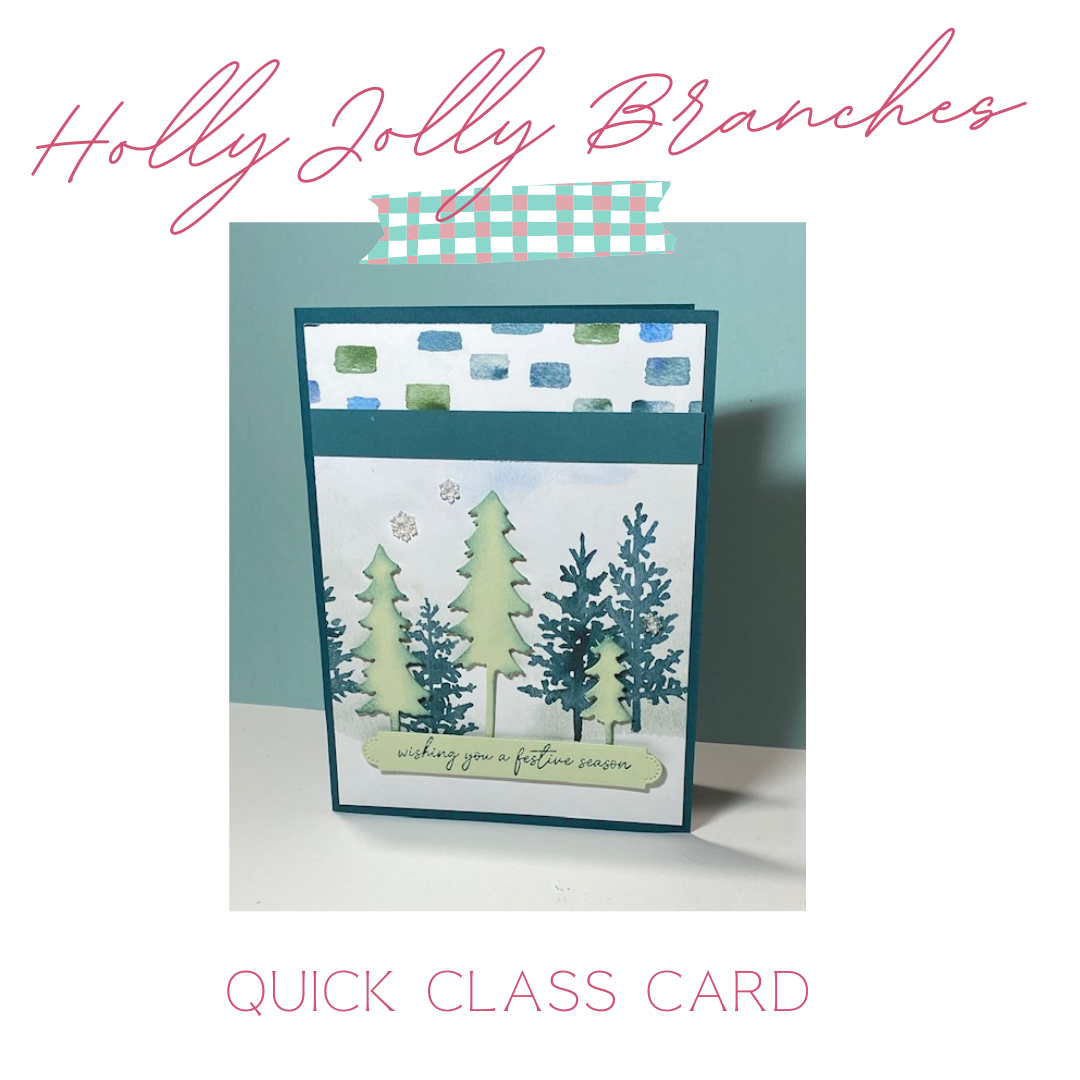
The Holly Jolly Branches Bundle is helping kick off the Christmas crafting season in this week’s Quick Class! With the new September–December Stampin’ Up! Catalog officially here, I couldn’t resist using some brand-new products to create this pretty woodland Christmas card. We’re combining die-cut trees, Whispering Woods Designer Series Paper, a simple sponging technique, and sparkling snowflakes for a card that has plenty of detail but is still very manageable to make.
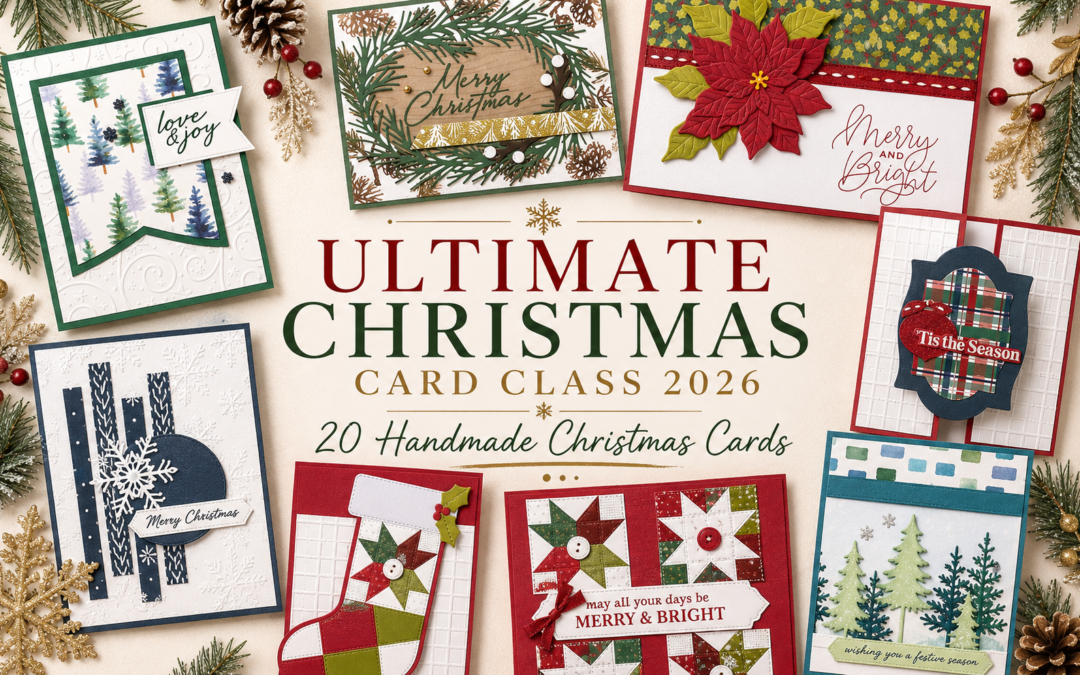
Even better, this card is a sneak peek at one of the 20 cards in my Ultimate Christmas Card Class, which opens for registration tomorrow!
Watch the Holly Jolly Branches Card Tutorial
Watch the replay to see the complete project come together and learn how a little Pretty Peacock ink transforms simple Soft Sea Foam die cuts into dimensional evergreen trees.
Meet the Holly Jolly Branches Bundle
One of the new products that immediately caught my eye in the September–December Catalog was the Holly Jolly Branches Bundle.
The stamp set includes some wonderful holiday images and greetings, but it was really the dies that grabbed my attention. You’ll find several Christmas tree dies along with gifts, stars, a tree base, and a versatile sentiment label.
I especially love products like this because the individual pieces can be mixed and matched rather than always being used in exactly the same way.
A Christmas Card in Pretty Peacock
Who says Christmas cards have to be red and green?
I started this card with a Pretty Peacock card base. It’s not necessarily a traditional Christmas color, but it works beautifully with the blues and greens in the Whispering Woods Designer Series Paper.
Because Pretty Peacock is such a dark cardstock, I added a White Willow panel to the inside. That gives us a nice light surface for writing a Christmas message.
Whispering Woods Designer Series Paper Does the Hard Work
If Whispering Woods Designer Series Paper looks familiar, that’s because I featured it in last week’s Quick Class, too!
This week we’re using another pattern from the package. The 12″ x 12″ sheet is designed with strips of trees along the top and bottom, making it possible to cut six card-front-sized pieces from a single sheet.
And those watercolor-style trees do most of the decorating for us.
I added the tree-patterned paper to the Pretty Peacock card base and then used a strip of the reverse side of the same DSP across the top. A narrow piece of Pretty Peacock Two-Tone Cardstock covers the seam and gives everything a more finished look.
One thing I particularly like about Whispering Woods is that it isn’t limited to Christmas. Several of the reverse-side patterns could easily work for cards throughout the year.
Plus, Stampin’ Up! makes a charitable donation with the purchase of each package of Whispering Woods Designer Series Paper.
Create Dimensional Trees with a Dauber
Now for my favorite technique on this card.
I die cut three of the trees from the Holly Jolly Branches Dies using Soft Sea Foam Two-Tone Cardstock.
Soft Sea Foam gave me the light green base I wanted, but by itself it was just a little too pale for the foreground of this card.
So I pulled out a Sponge Dauber and Pretty Peacock ink.
Rather than completely covering the trees, I gently applied Pretty Peacock around their outer edges. This creates darker shading around each tree while allowing the Soft Sea Foam to remain visible toward the center.
The result is a softer, more dimensional evergreen look.
Pretty Peacock also contains that blue-green quality that coordinates beautifully with the colors already appearing in the Whispering Woods paper.
Try This Technique with Other Die Cuts
This isn’t just a Christmas-tree technique.
Start with a lighter shade of cardstock and sponge a coordinating darker ink around the edges. You can try it with:
- Leaves
- Flowers
- Labels
- Pumpkins
- Balloons
- Other solid die-cut shapes
It’s an easy way to give a flat piece of cardstock more depth without adding another layer.
Creating the Foreground
Once the trees were shaded, I added Stampin’ Dimensionals to the backs and arranged all three across the lower portion of the card.
This is where the design really comes together.
The printed trees in the Whispering Woods DSP become the background forest, while the three Holly Jolly Branches die cuts create the foreground.
It’s a simple way to use Designer Series Paper as part of the scene rather than merely as a decorative background.
Add Your Christmas Sentiment
For my card, I chose the “Wishing You a Festive Season” greeting from the Holly Jolly Branches stamp set and stamped it in Pretty Peacock.
The coordinating label die has a little pierced detail at the ends that gives the simple shape an extra finishing touch.
I popped the sentiment up with Dimensionals and positioned it across the bases of the three trees. Besides providing a greeting, the label visually connects all three trees and leaves a nice amount of white space below.
If you’re making this card as part of my Ultimate Christmas Card Class, however, you won’t need the Holly Jolly Branches stamp set.
That’s intentional.
Why You Won’t Need Special Stamp Sets for My Ultimate Christmas Card Class
One thing that’s a little different about my Ultimate Christmas Card Class is that I don’t design the projects around one particular stamp set or bundle.
Instead, I prepare the pieces needed to create the card design, and you add an appropriate sentiment from your own collection.
For this card, you could substitute Merry Christmas, Happy Holidays, Season’s Greetings, or another sentiment that fits the label.
That gives me the freedom to incorporate lots of different dies, Designer Series Papers, and products into the class without requiring you to purchase a long list of stamp sets just to complete your cards.
Finish with Sparkling Snowflakes
We can’t finish a Christmas card without a little sparkle!
I used the new Adhesive-Backed Snowflakes that I previewed in last week’s Live. The package includes Secret Sea snowflakes as well as clear sparkling ones.
For this card, I chose three of the clear snowflakes and arranged them in my usual visual triangle.
That small bit of sparkle is just enough to finish the woodland scene without competing with all those trees.
Two Whispering Woods Christmas Cards, Two Different Looks
One of the things I’m enjoying about Whispering Woods is seeing how different the cards can look depending on which pattern and colors you choose.
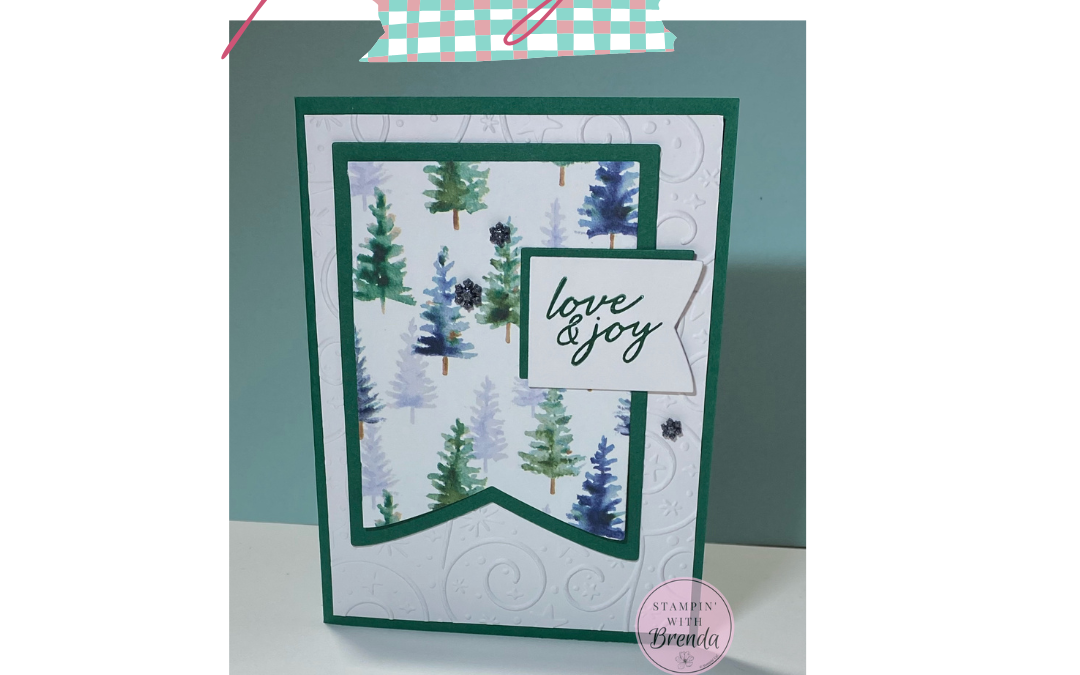
Last week’s card featured another design from the same paper package. This week’s Pretty Peacock version has an entirely different feel, yet they coordinate beautifully.
And there’s another connection between the two:
Both are planned for my Ultimate Christmas Card Class!
A Sneak Peek at My Ultimate Christmas Card Class
Registration for my Ultimate Christmas Card Class opens tomorrow, and I’m so excited to finally share all the details.
This is my biggest cardmaking event of the year.
You’ll make 20 Christmas cards total: two each of 10 different designs. You’ll receive prepared card kits along with a separate video tutorial and PDF tutorial for every design, so you can work through the class whenever it’s convenient for you.
I’ll be incorporating products from the new September–December Catalog and Online Exclusives, and I’m hoping to include some hot foiling, too.
There will also be some fun extras this year, including an Early Bird special.
Space will be limited because of the amount of preparation involved, so watch for the complete details and registration information tomorrow.
Try This Woodland Christmas Card
If you love Christmas cards with a little dimension but don’t want a project that’s overly complicated, this is a great design to try.
The Designer Series Paper creates most of the scene for you, while the sponged die-cut trees make the finished card feel much more detailed than the actual amount of work involved.
Be sure to watch the replay above to see exactly how I created the shaded trees and assembled the card.
And if you’d like to make this card plus 19 more, check back tomorrow when registration opens for my Ultimate Christmas Card Class!
For info about my upcoming in-person and virtual classes, check out my class descriptions here and my calendar here. I hope to see you at a class sometime soon, but you can always find ideas here on my blog as well as on Facebook and Instagram. Subscribe to my weekly newsletter at the bottom of this page so you don’t miss a thing!
Holly Jolly Branches Card Measurements:
- Pretty Peacock Card Base—5 1/2” x 8 ½”, scored at 4 ¼”
- White Willow –4” x 5 ¼”
- Pretty Peacock Two-Tone – ½” x 4”
- Soft Sea Foam Two-Tone – 4” x 3”
- Whispering Woods DSP – 4” x 4”, 1” x 4”
- Adhesive Backed Snowflakes – 3
Holly Jolly Branches Card Supplies:
![Holly Jolly Branches Bundle (English) [ 168280 ]](https://assets1.tamsnetwork.com/images/EC042017NF/168280s.jpg "Holly Jolly Branches Bundle (English) [ 168280 ]")
![Whispering Woods 12" X 12" (30.5 X 30.5 Cm) Designer Series Paper [ 168368 ]](https://assets1.tamsnetwork.com/images/EC042017NF/168368s.jpg "Whispering Woods 12\" X 12\" (30.5 X 30.5 Cm) Designer Series Paper [ 168368 ]")
![Pretty Peacock 8-1/2" X 11" Cardstock [ 150880 ]](https://assets1.tamsnetwork.com/images/EC042017NF/150880s.jpg "Pretty Peacock 8-1/2\" X 11\" Cardstock [ 150880 ]")
![White Willow 12" X 12" (30.5 X 30.5 Cm) Cardstock [ 166703 ]](https://assets1.tamsnetwork.com/images/EC042017NF/166703s.jpg "White Willow 12\" X 12\" (30.5 X 30.5 Cm) Cardstock [ 166703 ]")
![Pretty Peacock 12" X 12" (30.5 X 30.5 Cm) Two Tone Cardstock [ 166694 ]](https://assets1.tamsnetwork.com/images/EC042017NF/166694s.jpg "Pretty Peacock 12\" X 12\" (30.5 X 30.5 Cm) Two Tone Cardstock [ 166694 ]")
![Soft Sea Foam 12" X 12" (30.5 X 30.5 Cm) Two Tone Cardstock [ 166700 ]](https://assets1.tamsnetwork.com/images/EC042017NF/166700s.jpg "Soft Sea Foam 12\" X 12\" (30.5 X 30.5 Cm) Two Tone Cardstock [ 166700 ]")
![Pretty Peacock Classic Stampin’ Pad [ 150083 ]](https://assets1.tamsnetwork.com/images/EC042017NF/150083s.jpg "Pretty Peacock Classic Stampin’ Pad [ 150083 ]")
![Adhesive Backed Snowflakes [ 168316 ]](https://assets1.tamsnetwork.com/images/EC042017NF/168316s.jpg "Adhesive Backed Snowflakes [ 168316 ]")
![Stampin' Cut & Emboss Machine [ 149653 ]](https://assets1.tamsnetwork.com/images/EC042017NF/149653s.jpg "Stampin' Cut & Emboss Machine [ 149653 ]")
![Bone Folder [ 102300 ]](https://assets1.tamsnetwork.com/images/EC042017NF/102300s.jpg "Bone Folder [ 102300 ]")
![Stampin' Seal [ 152813 ]](https://assets1.tamsnetwork.com/images/EC042017NF/152813s.jpg "Stampin' Seal [ 152813 ]")
![Take Your Pick [ 144107 ]](https://assets1.tamsnetwork.com/images/EC042017NF/144107s.jpg "Take Your Pick [ 144107 ]")
![Stampin' Dimensionals [ 104430 ]](https://assets1.tamsnetwork.com/images/EC042017NF/104430s.jpg "Stampin' Dimensionals [ 104430 ]")
0 Comments