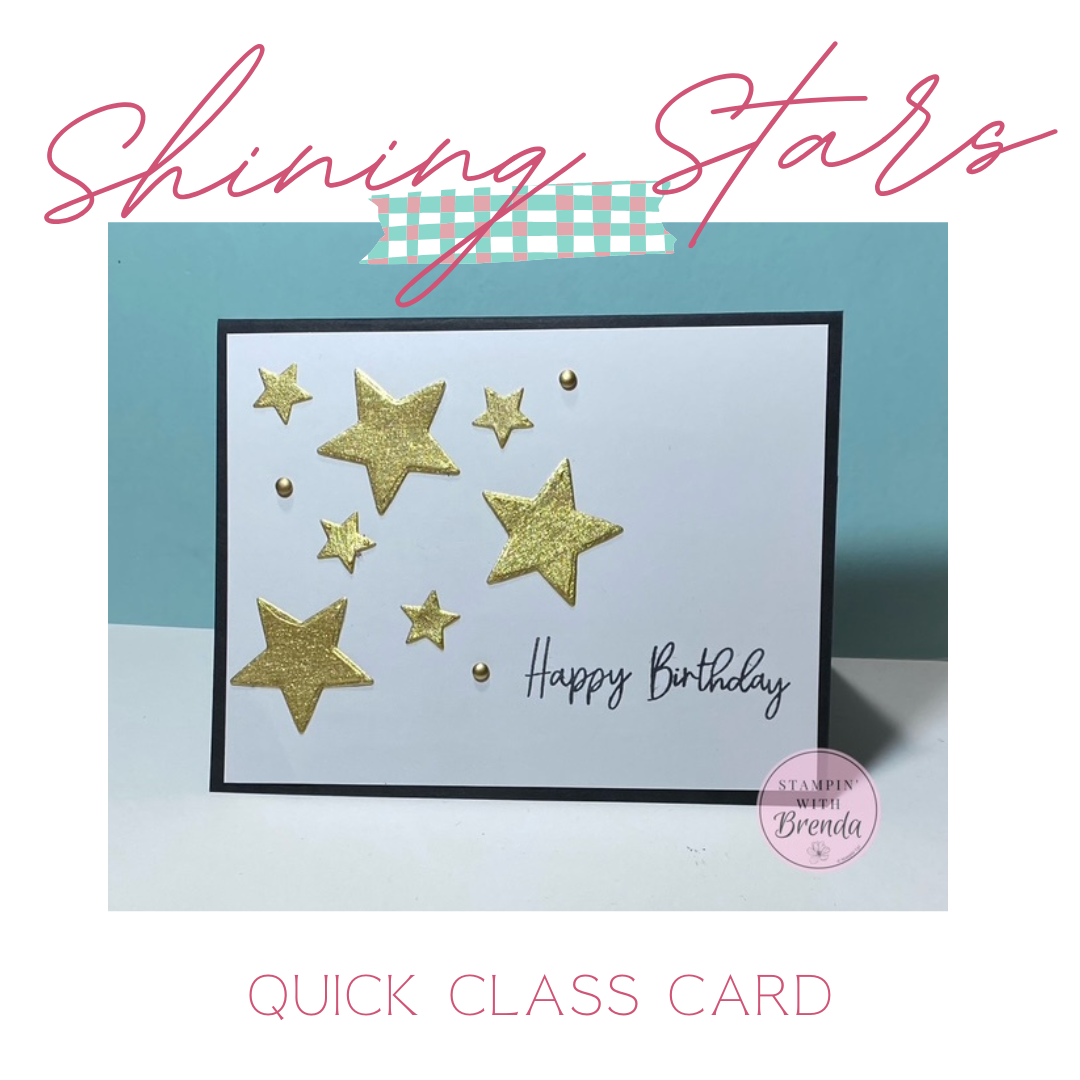
The Shining Stars Dies are Stampin’ Up!’s October Product of the Month, and they’re a fabulous addition to any cardmaker’s collection! In this week’s Quick Class, I’m showing you how to create a striking black and gold birthday card using these versatile dies, Timeless Metallic Specialty Paper, and just a few simple supplies.
And here’s the best part: You can get the entire 23-piece Shining Stars Dies set for just $5 with a qualifying $75 Stampin’ Up! order!
Although these dies are perfect for Christmas cards, they’re useful for so many other occasions. Today, I’m putting them to work on a birthday card for my son, who is turning 28 this week.
Watch the Shining Stars Dies Card Tutorial
In the video, I’ll show you how to arrange die-cut stars into an eye-catching design, share a helpful tip for working with tiny die cuts, and demonstrate how a few gold embellishments can finish a card beautifully.
This week’s Quick Class was prerecorded because I was celebrating my son’s birthday with family, but I didn’t want you to miss out on our weekly crafting time!
Meet the Shining Stars Dies
One of the things I love about the Shining Stars Dies (168600) is how versatile they are.
This set includes 23 dies, giving you plenty of options for creating cards, scrapbook pages, tags, and other paper crafts.
You’ll find:
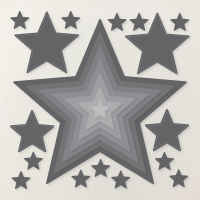
- Nested star shapes that can be layered together
- Two sizes of stitched stars
- A collection of 12 small star dies that allow you to cut multiple stars at once
The nested dies cut solid stars, making them perfect for layering, creating backgrounds, or adding individual embellishments to a project.
And while stars might immediately make you think of Christmas, they’re also wonderful for birthdays, graduations, celebrations, and patriotic holidays such as Memorial Day and the Fourth of July.
That’s what makes this such a useful collection of dies. You can reach for them throughout the year!
An Elegant Black and Gold Birthday Card
For today’s project, I wanted something festive but not overly elaborate.
Since the card is for my 28-year-old son, I decided to keep the color palette simple with Basic Black, White Willow, and metallic gold.
Black and gold is one of those classic combinations that always looks special, and it’s particularly effective when you’re making a card for an adult birthday.
The metallic stars provide plenty of sparkle without requiring complicated techniques or lots of additional supplies.
Supplies Used
- Shining Stars Dies
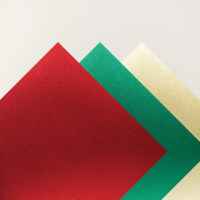
- Timeless Metallic Specialty Paper
- Basic Black Cardstock
- White Willow Cardstock
- Balloon Festoon stamp set for the Happy Birthday greeting
- Memento Tuxedo Black Ink
- Gold Adhesive-Backed Dots
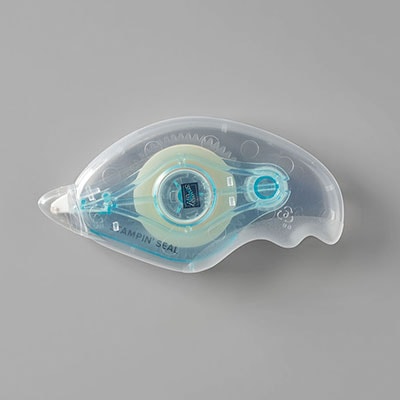
- Stampin’ Seal
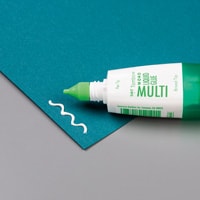
- Multipurpose Liquid Glue
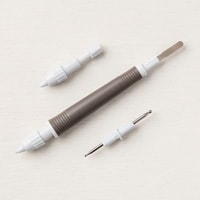
- Take Your Pick Tool
- Stampin’ Cut & Emboss Machine
Step 1: Prepare the Card Base
I started with a Basic Black card base, folded in half and creased with my Bone Folder.
Because the cardstock is dark, I added a piece of White Willow cardstock to the inside so there’s plenty of room to write a birthday message.
For the front, I used another piece of White Willow cardstock.
I stamped the Happy Birthday greeting from the Balloon Festoon stamp set in Memento Tuxedo Black Ink.
I particularly love the font of this greeting. It’s one I use frequently because it works beautifully for so many different styles of cards.
Once I was happy with the stamped greeting, I adhered the white panel to the black card base.
Step 2: Die Cut the Metallic Stars
Now for the fun part!
I used the Timeless Metallic Specialty Paper to cut seven gold stars.
This paper has a beautiful shine, and although it’s a natural choice for Christmas projects, there’s no reason to save it exclusively for the holidays.
The package contains 12″ x 12″ sheets, with two sheets of each color. I cut mine into 6″ x 6″ pieces to make them easier to handle in my craft room.
For this card, I used:
- Three stars cut with the second-smallest nested star die
- Four smaller stars cut with the mini star dies
I deliberately chose seven stars because I generally prefer working with odd numbers when arranging elements on a card.
Odd-numbered groupings often create a more natural-looking design.
Step 3: Arrange the Stars
Before adhering the stars, I considered how I wanted them to flow across the card.
Rather than covering the entire front, I decided to concentrate them in one area, leaving plenty of white space.
This gives the card a clean, modern appearance and allows the metallic stars to stand out.
I started by positioning the three larger stars in a loose triangular arrangement.
Then I filled in some of the gaps with the four smaller stars.
I also rotated the stars at slightly different angles so they wouldn’t look too uniform.
Why I Used Liquid Glue
For this project, I chose Multipurpose Liquid Glue rather than tape adhesive.
Liquid glue gives you a little time to move your die cuts after placing them on the cardstock.
That’s particularly helpful when arranging several small shapes because you may want to nudge one slightly to the left or right as the design develops.
Just remember that a little glue goes a long way!
Step 4: My Favorite Tool for Tiny Die Cuts
If you’ve ever tried to pick up and position tiny paper shapes, you know how frustrating it can be.
That’s where the Take Your Pick Tool comes in handy.
One end has a sticky putty tip that makes it easy to pick up small embellishments and die cuts.
Simply touch the putty tip to your die-cut star, lift it, and place it onto the adhesive.
The star releases easily, and you don’t have to struggle with your fingers or tweezers.
This is especially useful for those little stars, but I use the tool for all kinds of small pieces in my cardmaking.
Step 5: Add the Finishing Touches
Once the stars were arranged, I decided the card needed just a little more sparkle.
I reached for my Gold Adhesive-Backed Dots.
These coordinate beautifully with the metallic paper and add another layer of interest without making the design too busy.
I scattered several dots among the stars, keeping the embellishments concentrated in the same general area.
Of course, you can use as many or as few as you like.
That’s one of the nice things about this card. You can adjust the arrangement to suit your own style.
And remember, sometimes less really is more!
Make It a Christmas Card Instead!
During the video, I also shared another version of this card using the same Shining Stars Dies.
For that version, I used different colors of the Timeless Metallic Specialty Paper and changed the greeting to Sending Cheer from the Festive Cheer stamp set.
It’s a great example of how easily you can adapt a simple card design.
Change the colors and sentiment, and suddenly you’ve gone from a birthday card to a Christmas card!
You could also use these dies for:
- Graduation and congratulations cards
- Patriotic cards for the Fourth of July
- New Year’s celebrations
- Children’s birthday cards
- Gift tags and scrapbook pages
A good collection of basic shapes can be one of the most useful things in your craft room.
Get the Shining Stars Dies for Just $5!
The Shining Stars Dies are Stampin’ Up!’s October 2026 Product of the Month, and they’re an incredible value.
Here’s how the offer works:
When you place a qualifying $75 order in my Stampin’ Up! online store, you can add the Shining Stars Dies to your order for just $5.
The Product of the Month is available while supplies last, so don’t wait too long if this set is on your wish list.
[Insert your Stampin’ Up! online store link here]
Don’t Miss the October Die-Cutting Flash Sale!
There’s another reason this is a great time to shop for dies.
October 21–23, 2026, Stampin’ Up! is offering 15% off select dies and die-cutting tools!
That means you can save on some of the dies you’ve been considering while working toward the $75 qualifying order for the Shining Stars Dies.
During the video, I mentioned several versatile standalone die sets worth considering, including:
Stitched Shapes Dies: These are among my most-used dies. I reach for them constantly when creating labels, focal points, and layered designs.
Nested Essentials Dies: Another useful collection of basic shapes that can work with almost any stamp set.
I always recommend checking whether a coordinating bundle offers better value before purchasing individual dies. But for standalone die sets, this sale is a wonderful opportunity.
Remember, the flash sale ends Friday, October 23, and sale items are available while supplies last.
A Simple Card with Lots of Possibilities
What I especially love about this project is that it proves you don’t need a complicated design to make a beautiful handmade card.
A few metallic stars, a simple greeting, and a little sparkle are all it takes.
And with 23 dies in the Shining Stars collection, there are so many ways to use these shapes throughout the year.
Watch the replay above to see how I created the card, and be sure to check out the October Product of the Month while it’s still available.
I’d love to know: Would you use these stars for birthday cards, Christmas cards, or something completely different?
For info about my upcoming in-person and virtual classes beyond my Ultimate Christmas Card Class , check out my class descriptions here and my calendar here. I hope to see you at a class sometime soon, but you can always find ideas here on my blog as well as on Facebook and Instagram. Subscribe to my weekly newsletter at the bottom of this page so you don’t miss a thing!
Shining Stars Card Measurements:
- Basic Black Card Base—5 1/2” x 8 ½”, scored at 4 ¼”
- White Willow – 4” x 5 ¼” (2)
- Timeless Metallics – 2” x 4”
Shining Stars Card Supplies:


0 Comments