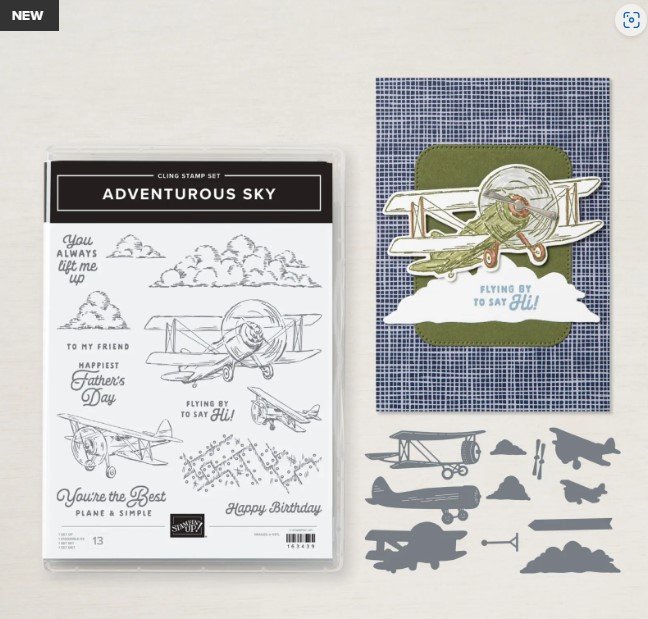
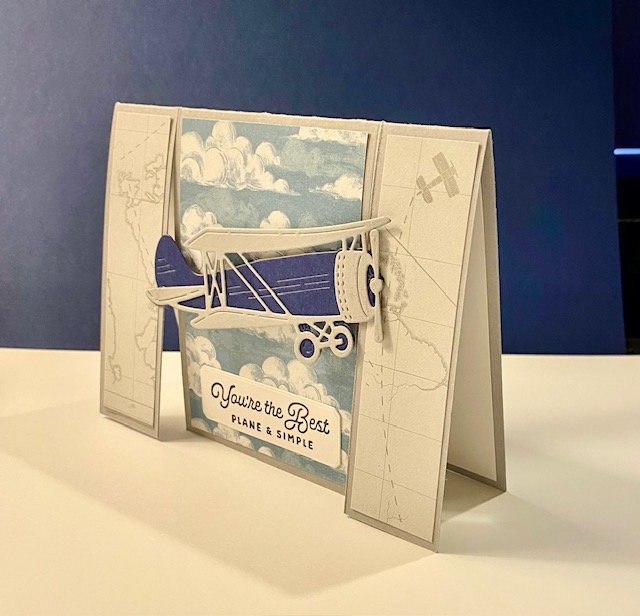
The Adventurous Sky bundle has all you need to create super-impressive masculine cards! As soon as I saw it in the Stampin’ Up! 2024-2025 Annual Catalog, I knew it would become my favorite bundle with which to create cards and scrapbook pages for the many men in my life.

The featured card above is the one my team and I made at our May monthly team meeting. Did you know that as a member of my Jersey Stampers and Beyond team that we have a Zoom meeting on the 3rd Sunday of each month? It’s been fun for all of us to get to know one another even though we are from many different places. It’s been a great community, and if you want to see more, check this out. We’d love to have you!

Below is the tutorial for the card featured above. For more ideas every month, be sure to sign up for my weekly newsletter at the bottom of this page. For info about my upcoming in-person and virtual classes, check out my class descriptions here and my calendar here. Thanks for checking this out!
Adventurous Sky Fun Fold Card Measurements
- Smoky Slate – 8 ½” x 5 ½”, score and fold at 4 ¼”, 4 ¼” x 2”, scrap
- Night of Navy – 4” x 2”
- Basic White – 4” x 5 ¼”, scrap for die cutting
- Take to the Sky – 1” x 4” (2 – Pattern 1), 4” x 2 ¾” (Pattern 2)
Instructions:
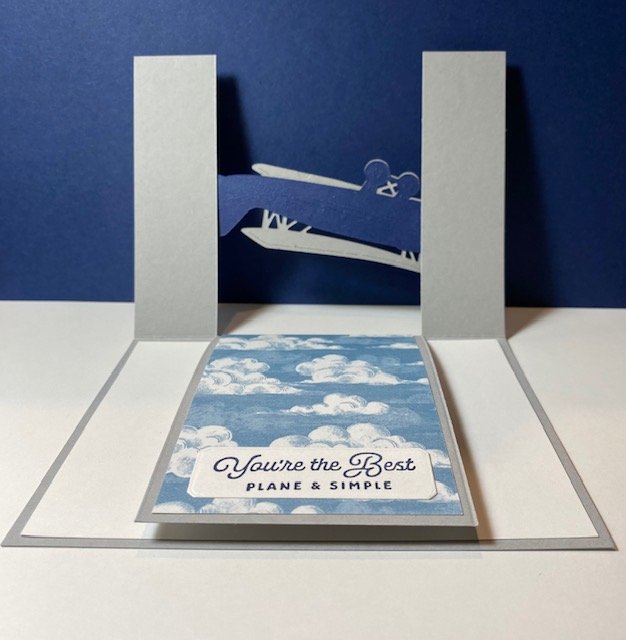
- Fold Smoky Slate card base in half at 4 ¼”. Open card base and place short side against the ruler in your paper trimmer. Cut at 1 ¼” to the score line, then at 4 ¼” to the score line. This becomes your card front with the center 3” able to fold separately from the 1 ¼” side panels.
- Add the 1” DSP strips to the outer panels of the card front. Add the 2nd DSP design to the center panel.
- Die cut airplane body from Night of Navy cardstock. Die cut winged airplane body and propellers from Smoky Slate card stock. Assemble airplane using liquid glue as adhesive.
- Stamp sentiment using Night of Navy ink on the Basic White scrap and die cut with small Countryside Corners die. Adhere to the bottom of the center panel using Stampin’ Seal.
- Stamp additional sentiment on center of Basic White panel and adhere to inside of card.


0 Comments